

Configuration via URL Parameters
Map Settings Overview
You can customize your map experience by adjusting settings directly in the URL. The starting view is one schema-typed parameter — camera — whose fields combine freely in a single link and match the FloorPlan.setCamera() API field for field:
?camera[x]=6517.28955078125&camera[y]=3826.6064453125&camera[bearing]=180camera[lat] / camera[lng]
Defines the map center using WGS84 coordinates (latitude, longitude).
Example: ?camera[lat]=52.31801546937824&camera[lng]=9.803534426718189
Default
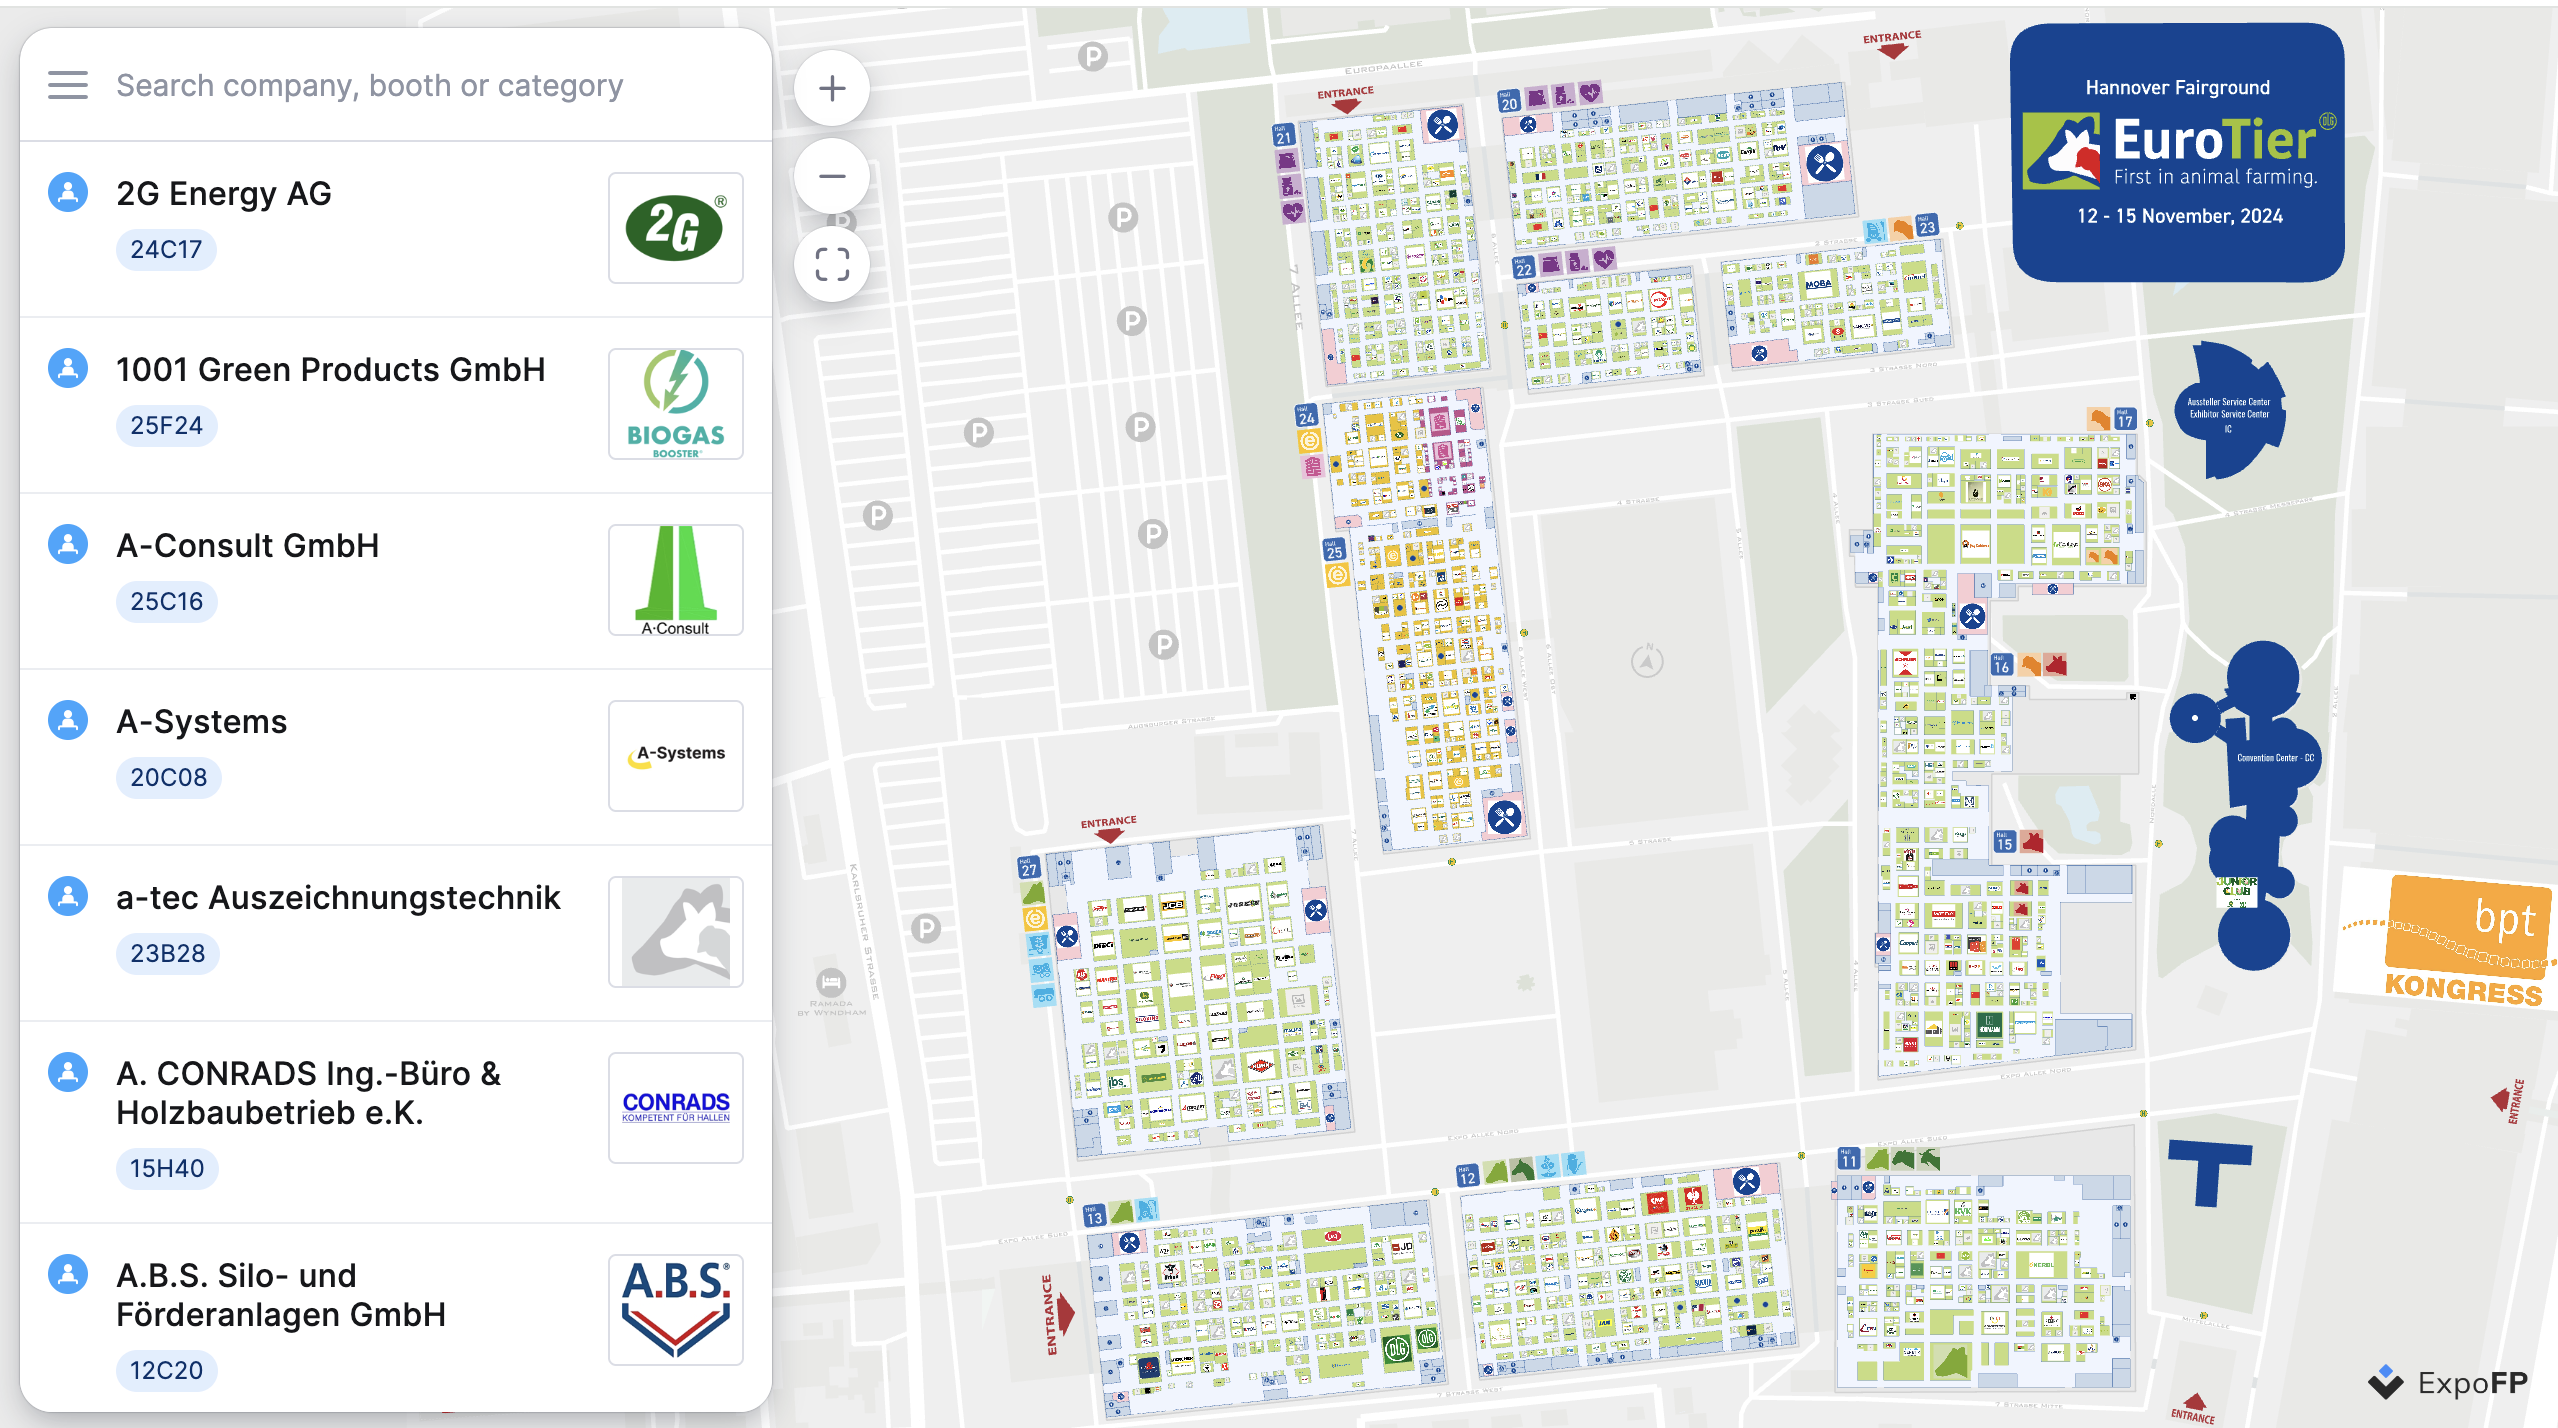
With parameter
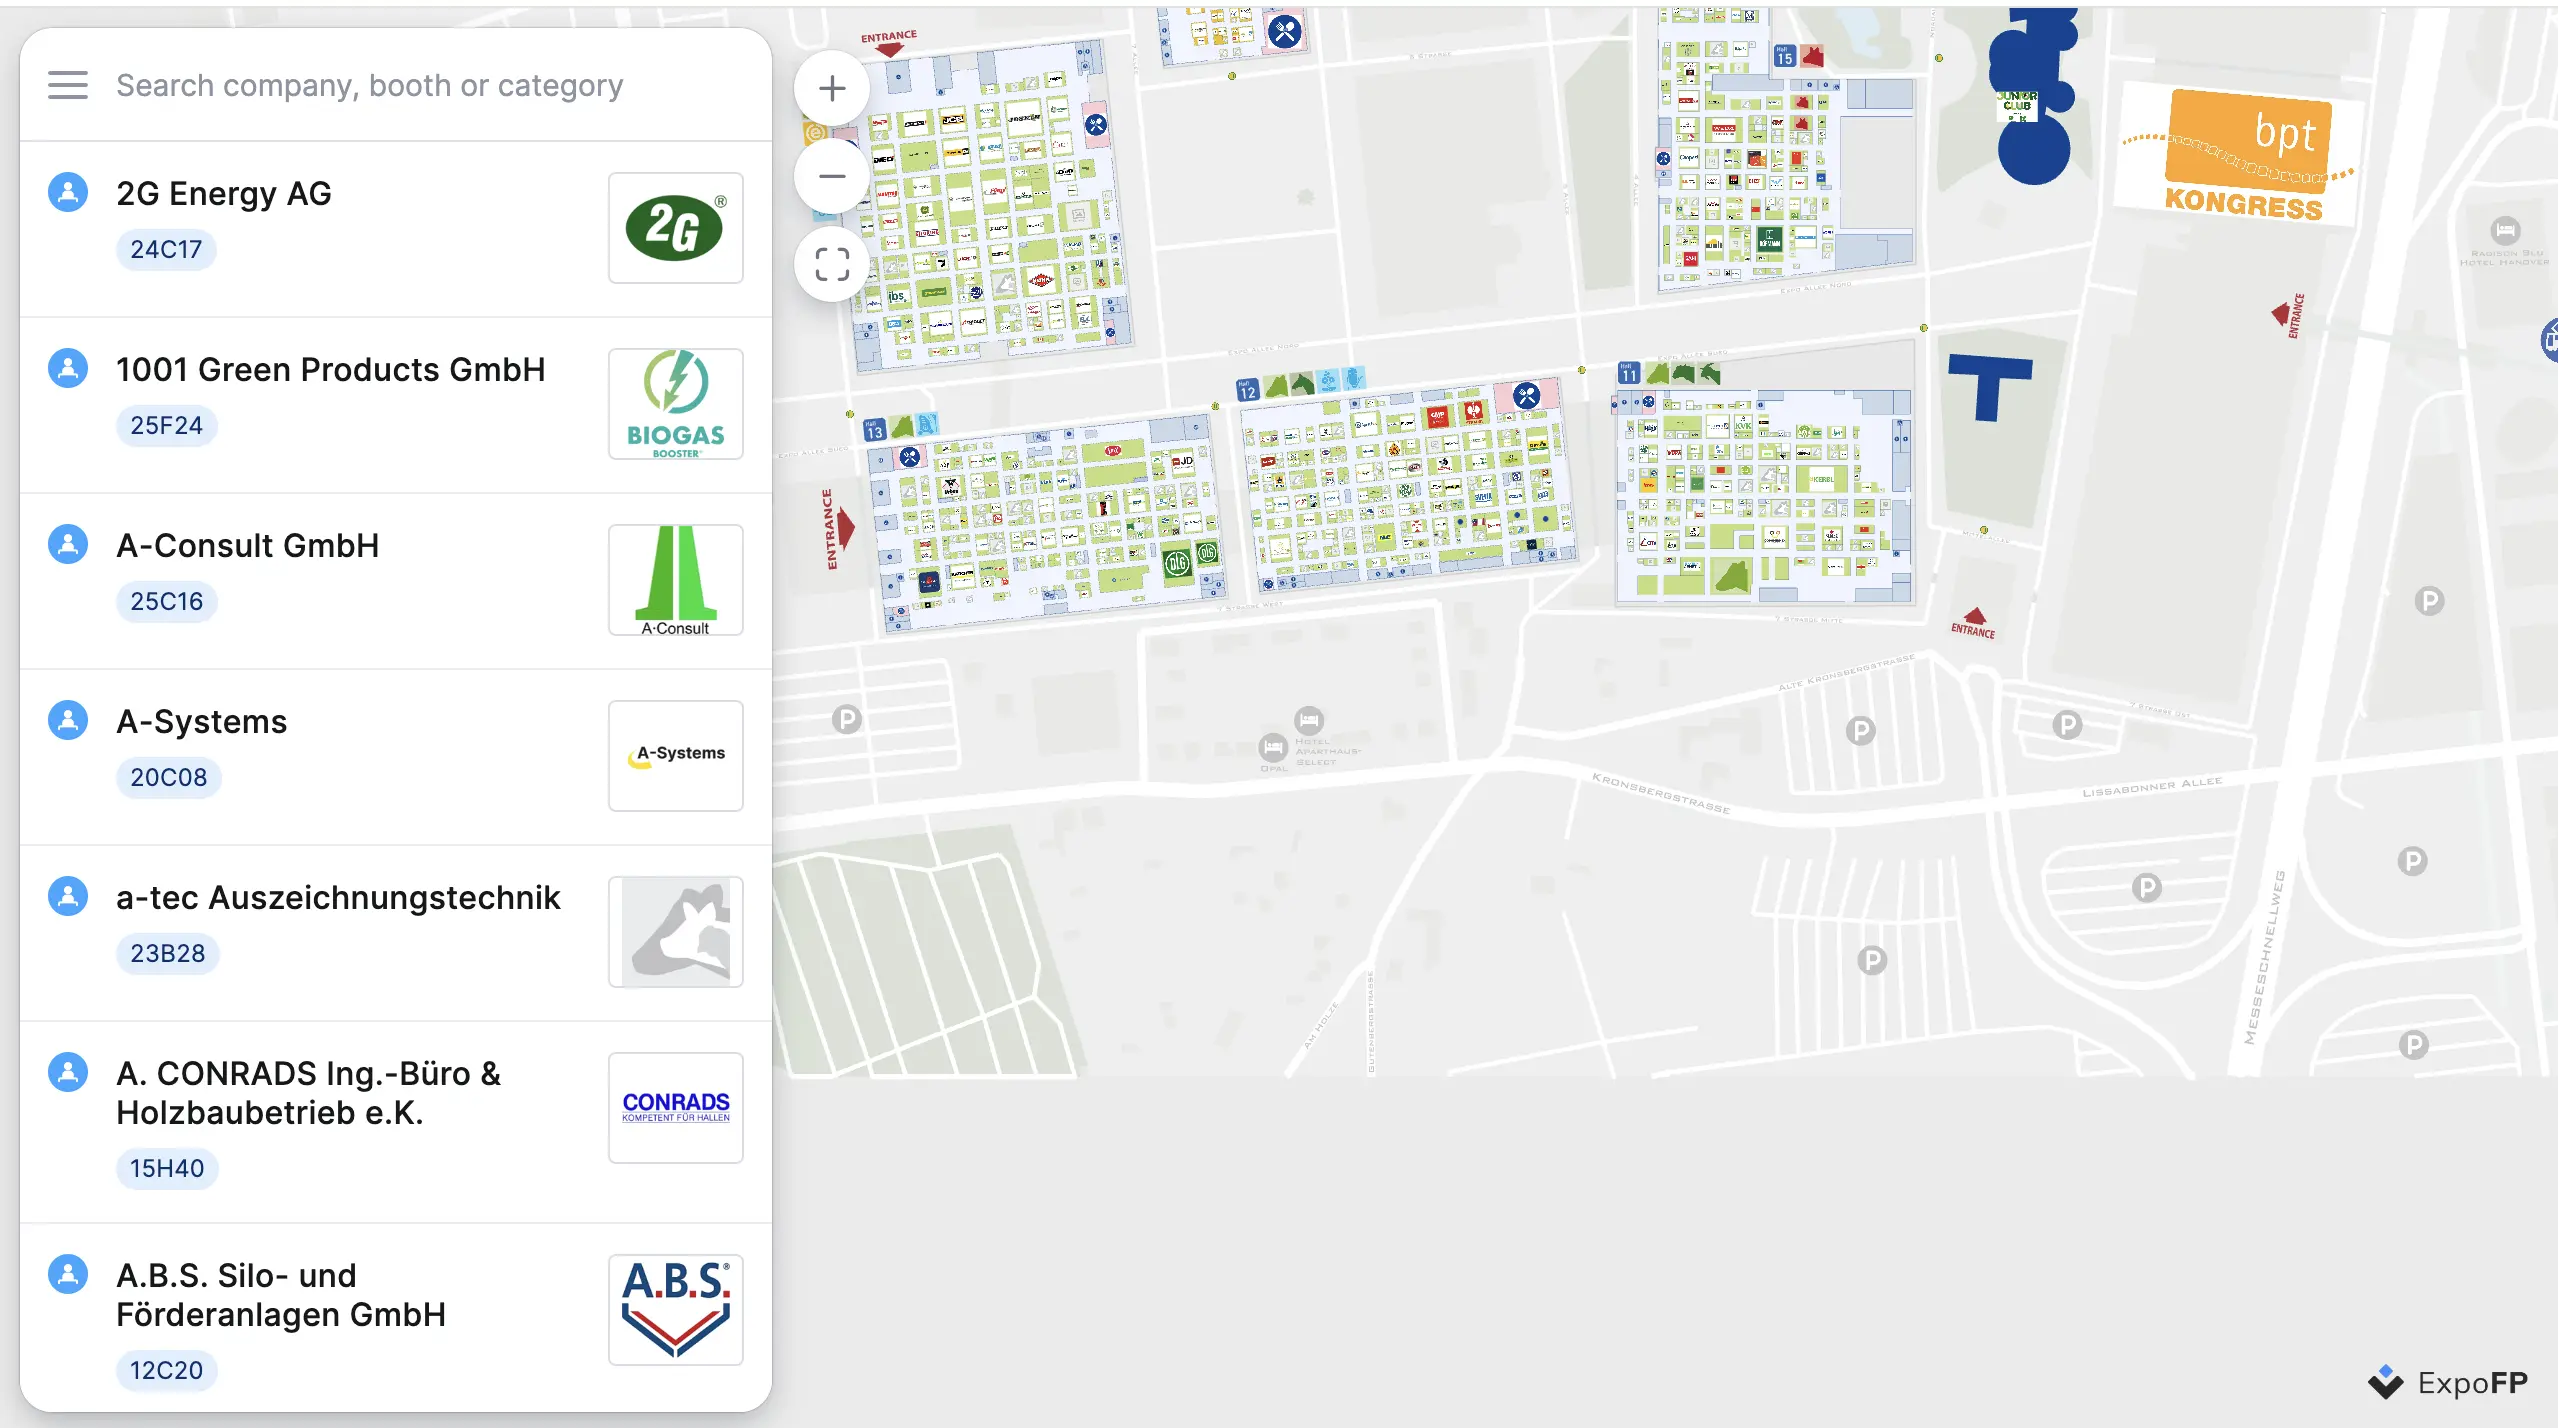
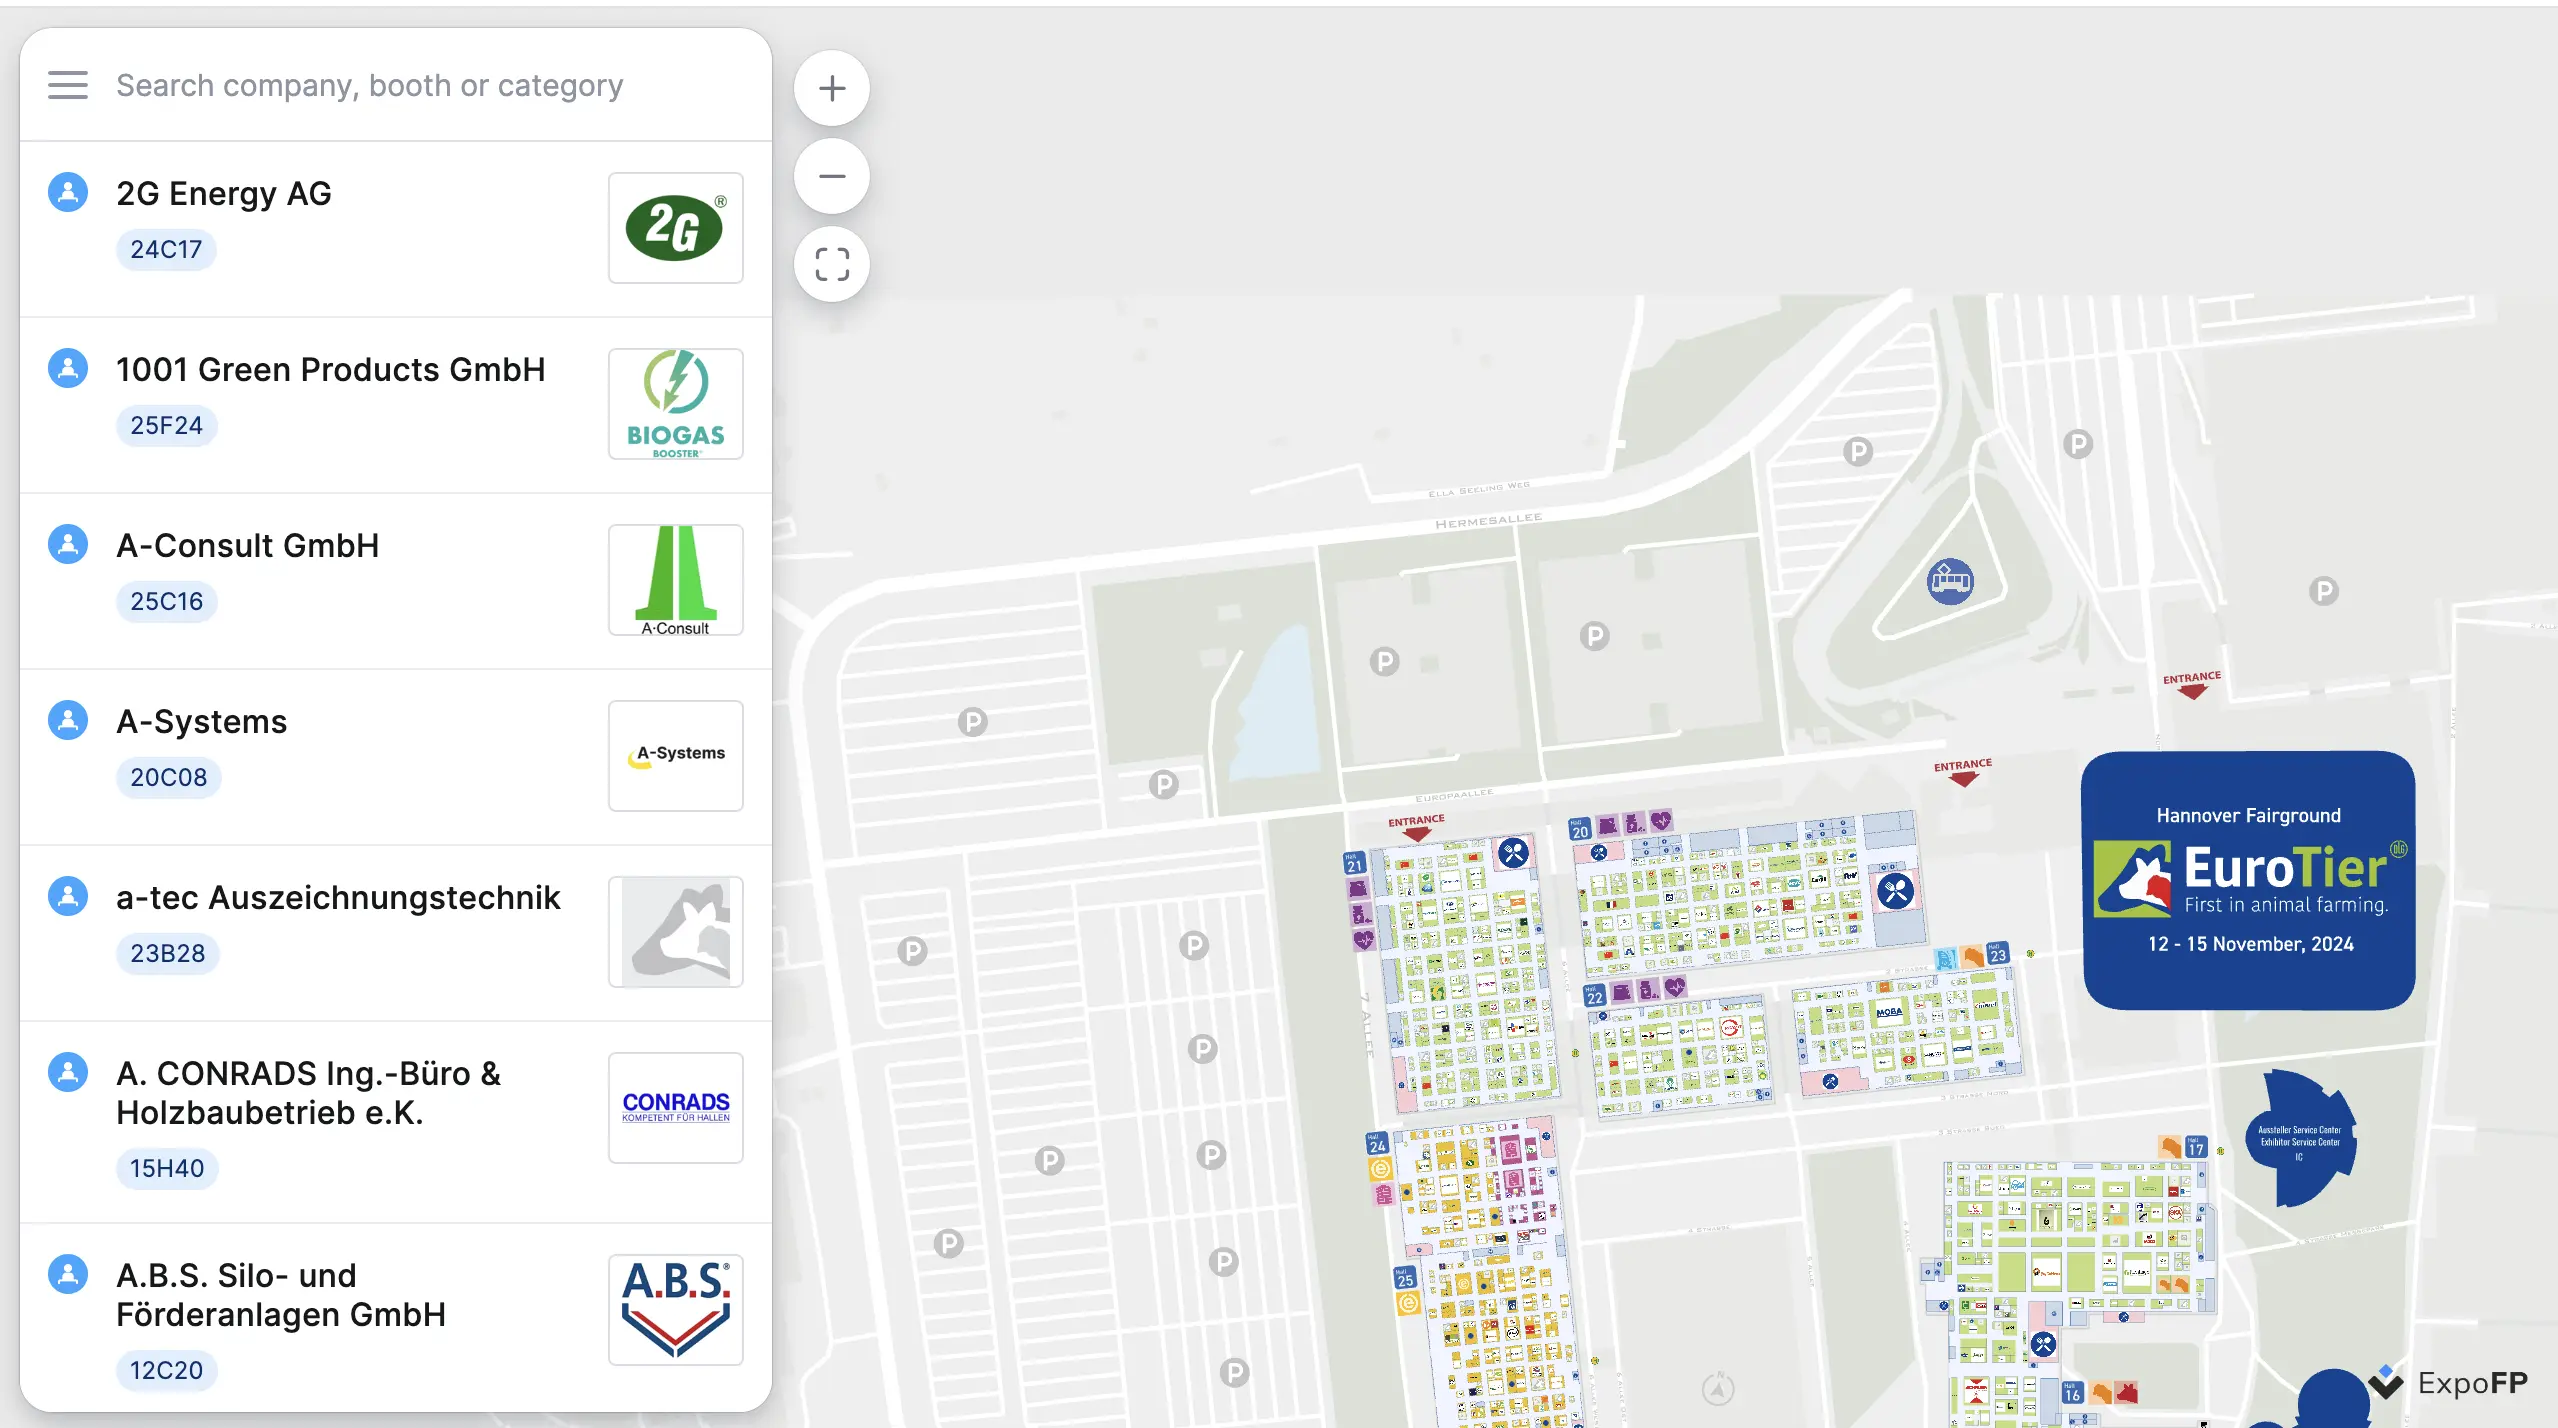
camera[x] / camera[y]
Sets the map center using projected coordinates (x, y). Example: ?camera[x]=6517.28955078125&camera[y]=3826.6064453125
Default
With parameter
camera[floor]
Specifies the floor/level name. Example: ?camera[floor]=2
Default
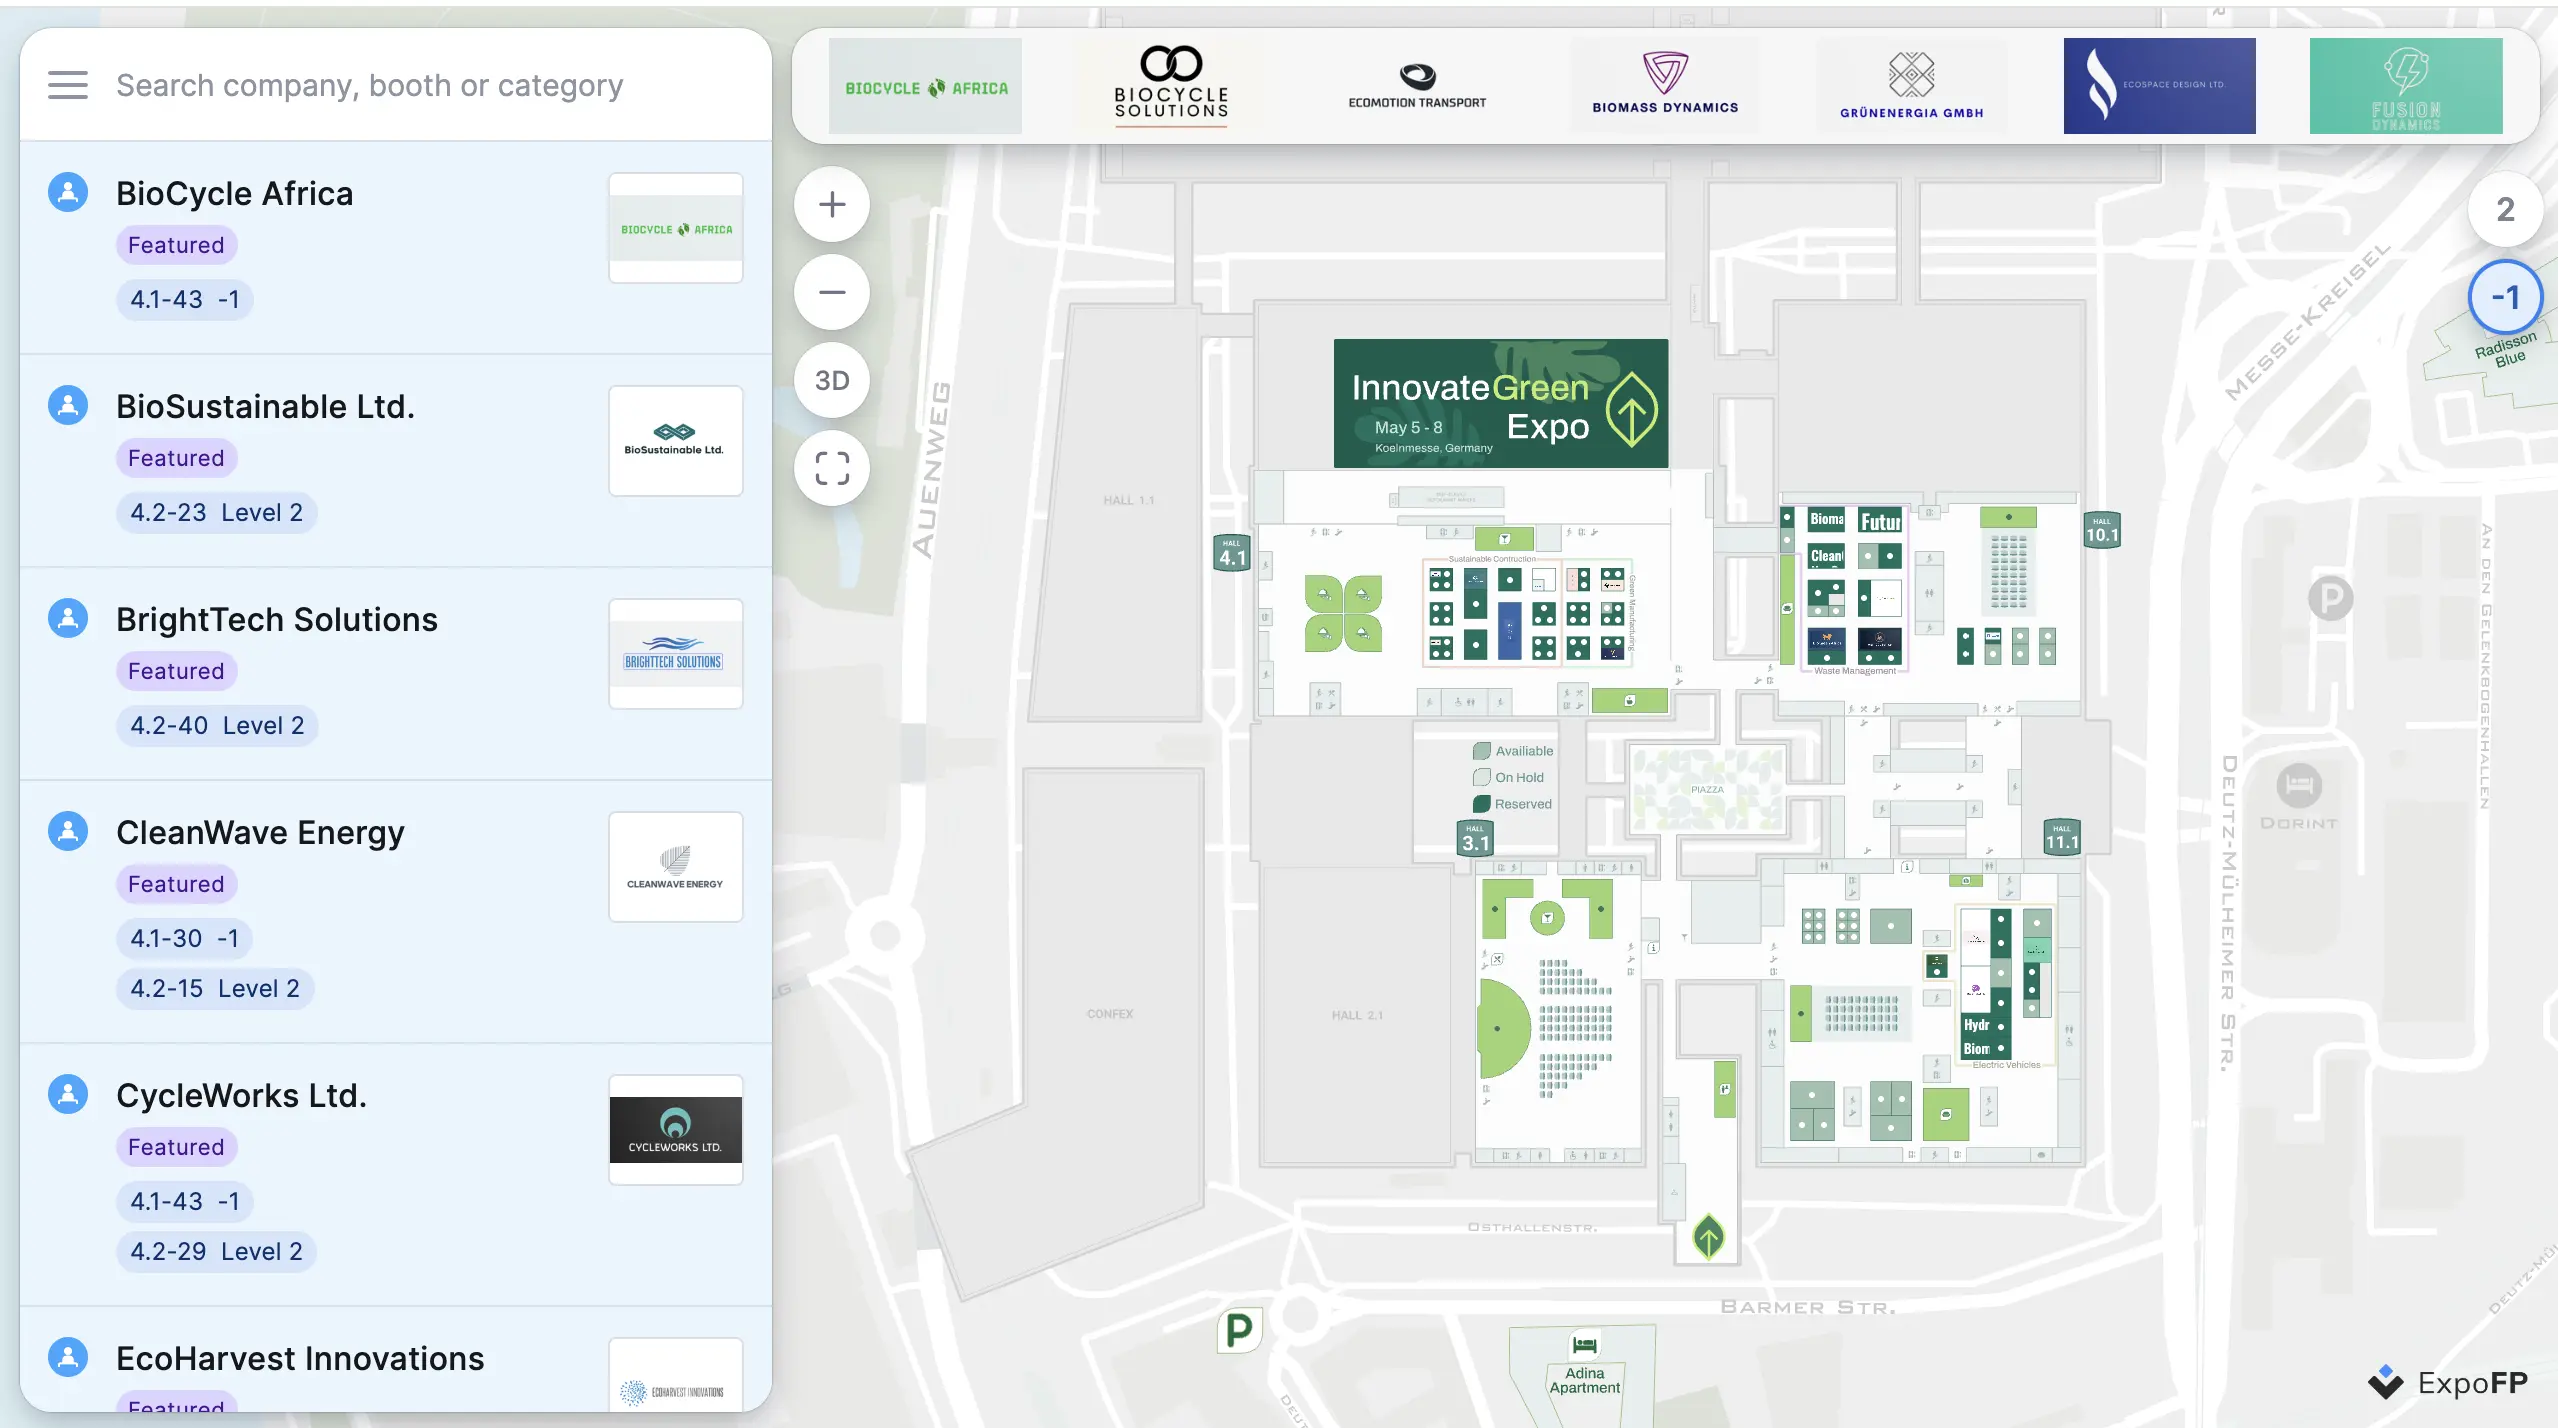
With parameter
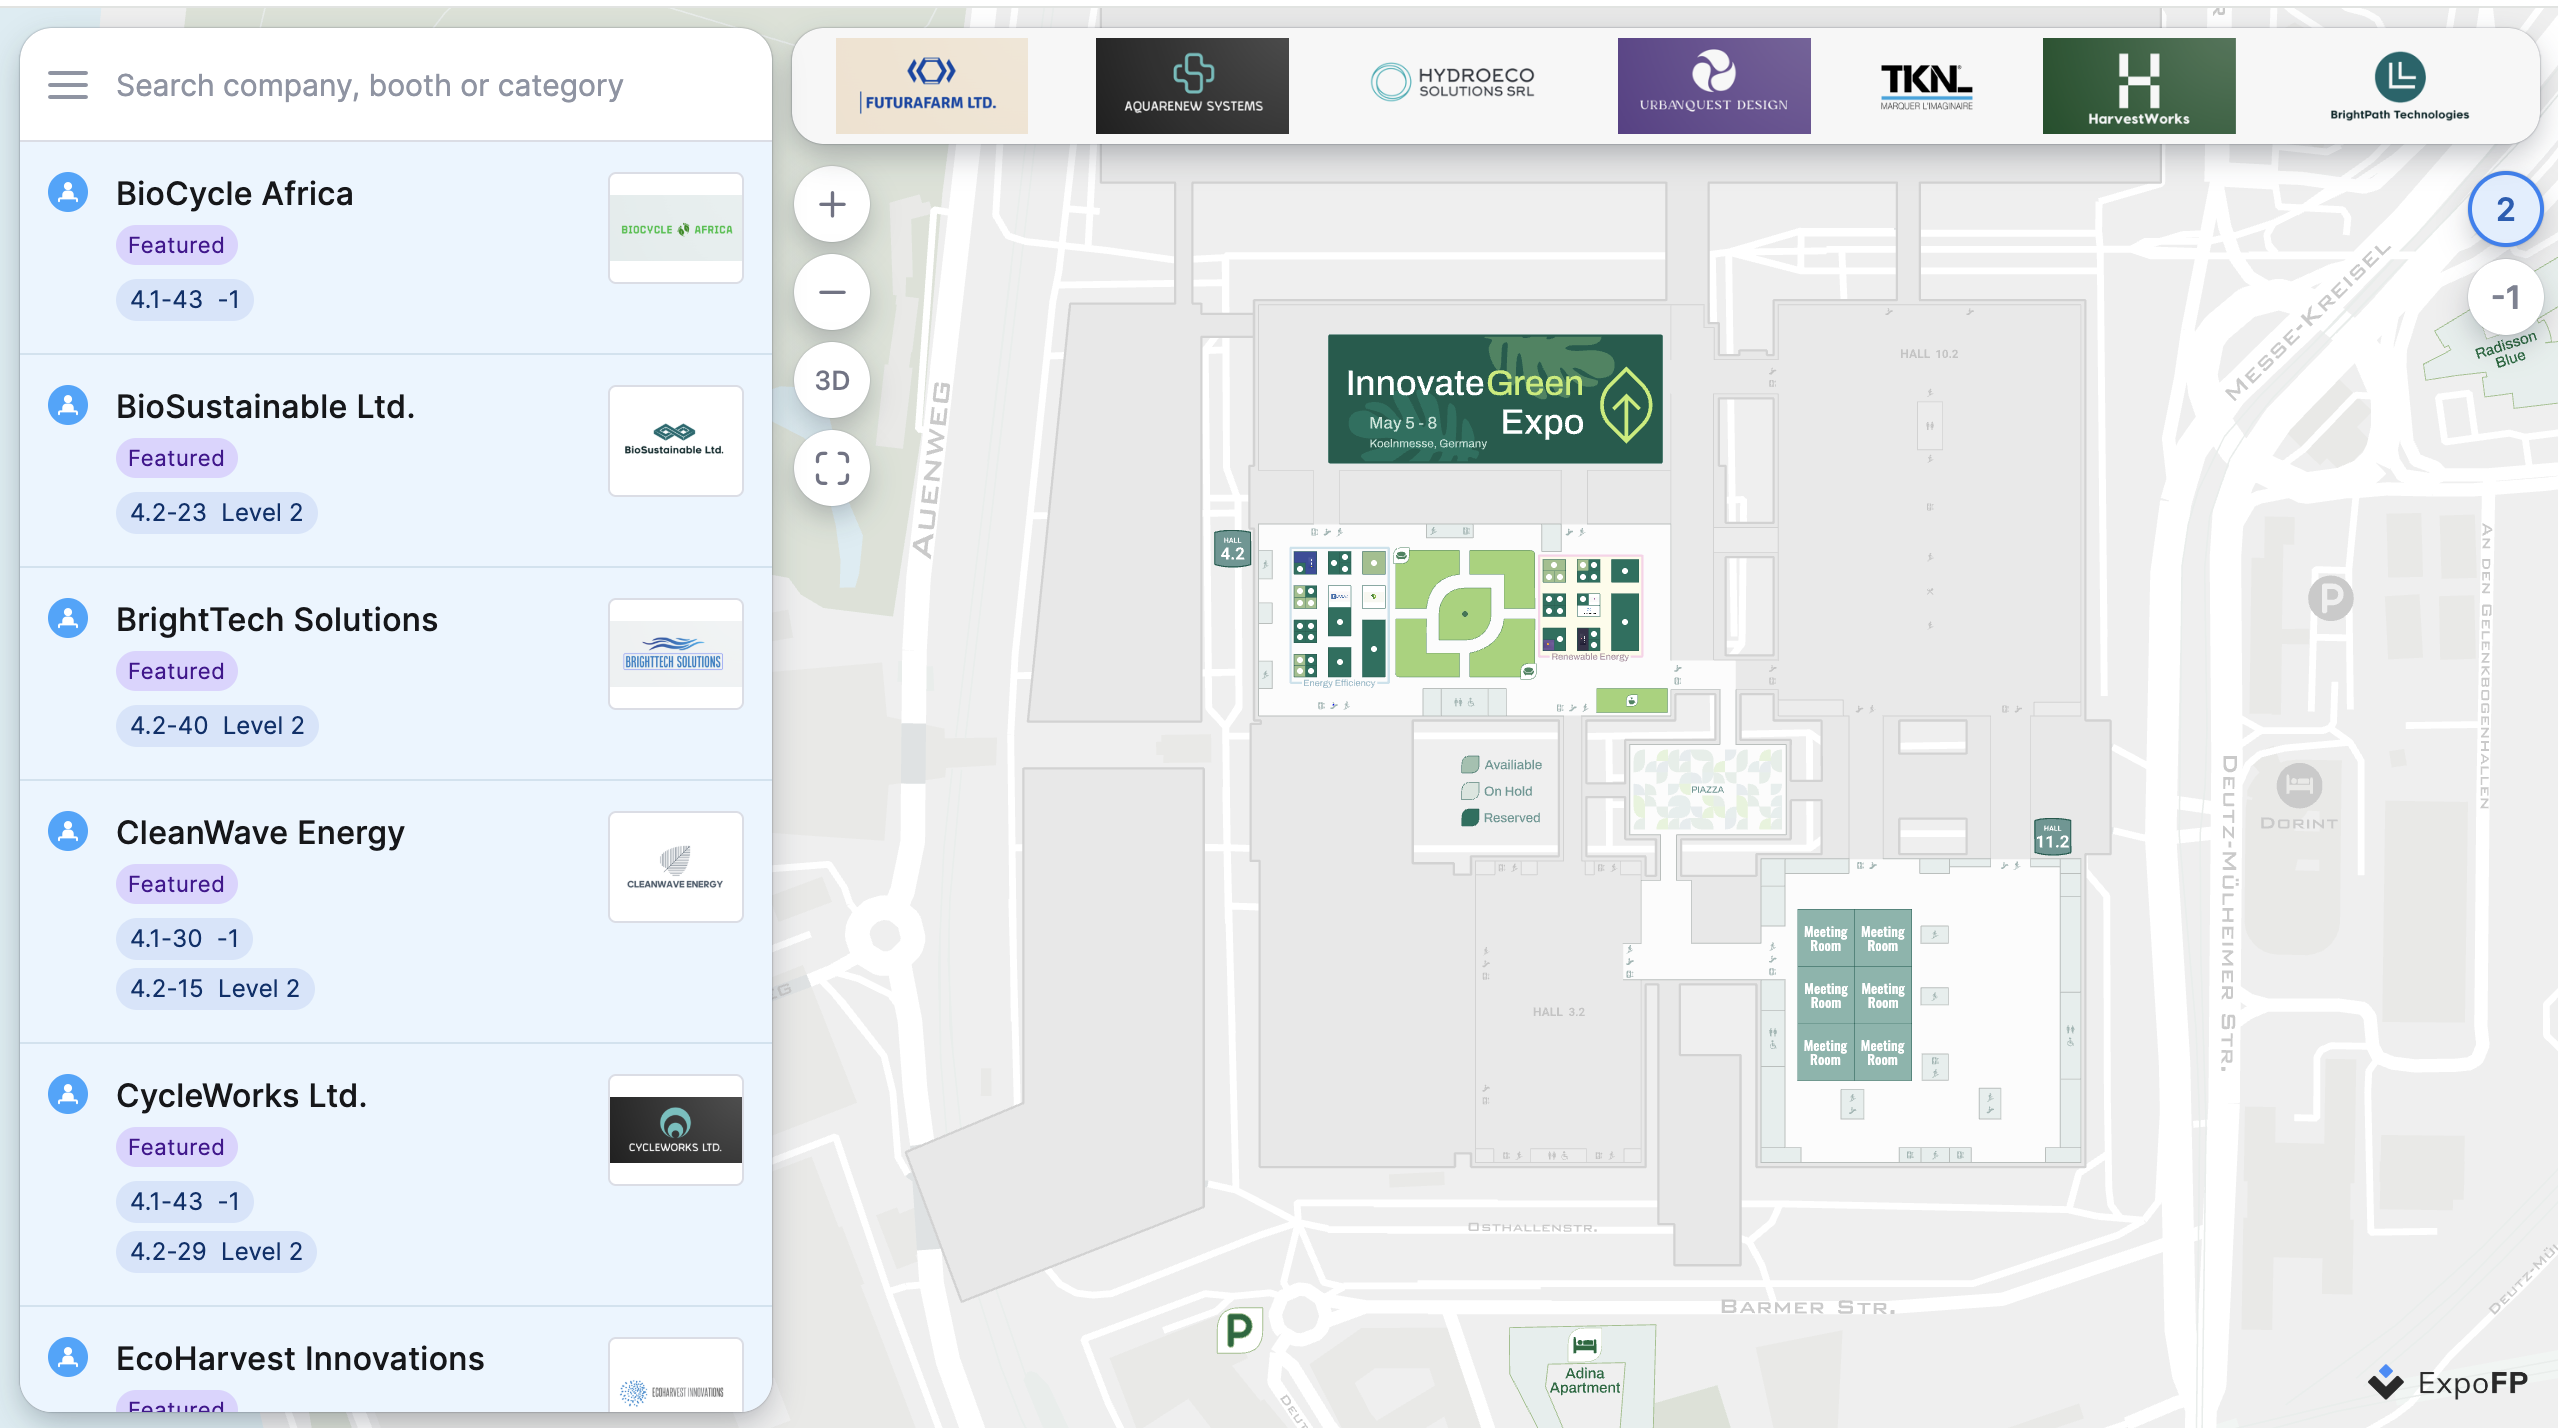
camera[bearing]
Rotates the map (0–360 degrees). On a kiosk this also turns the "you are here" arrow, since the arrow is drawn against the map.
Example: ?camera[bearing]=180
Default
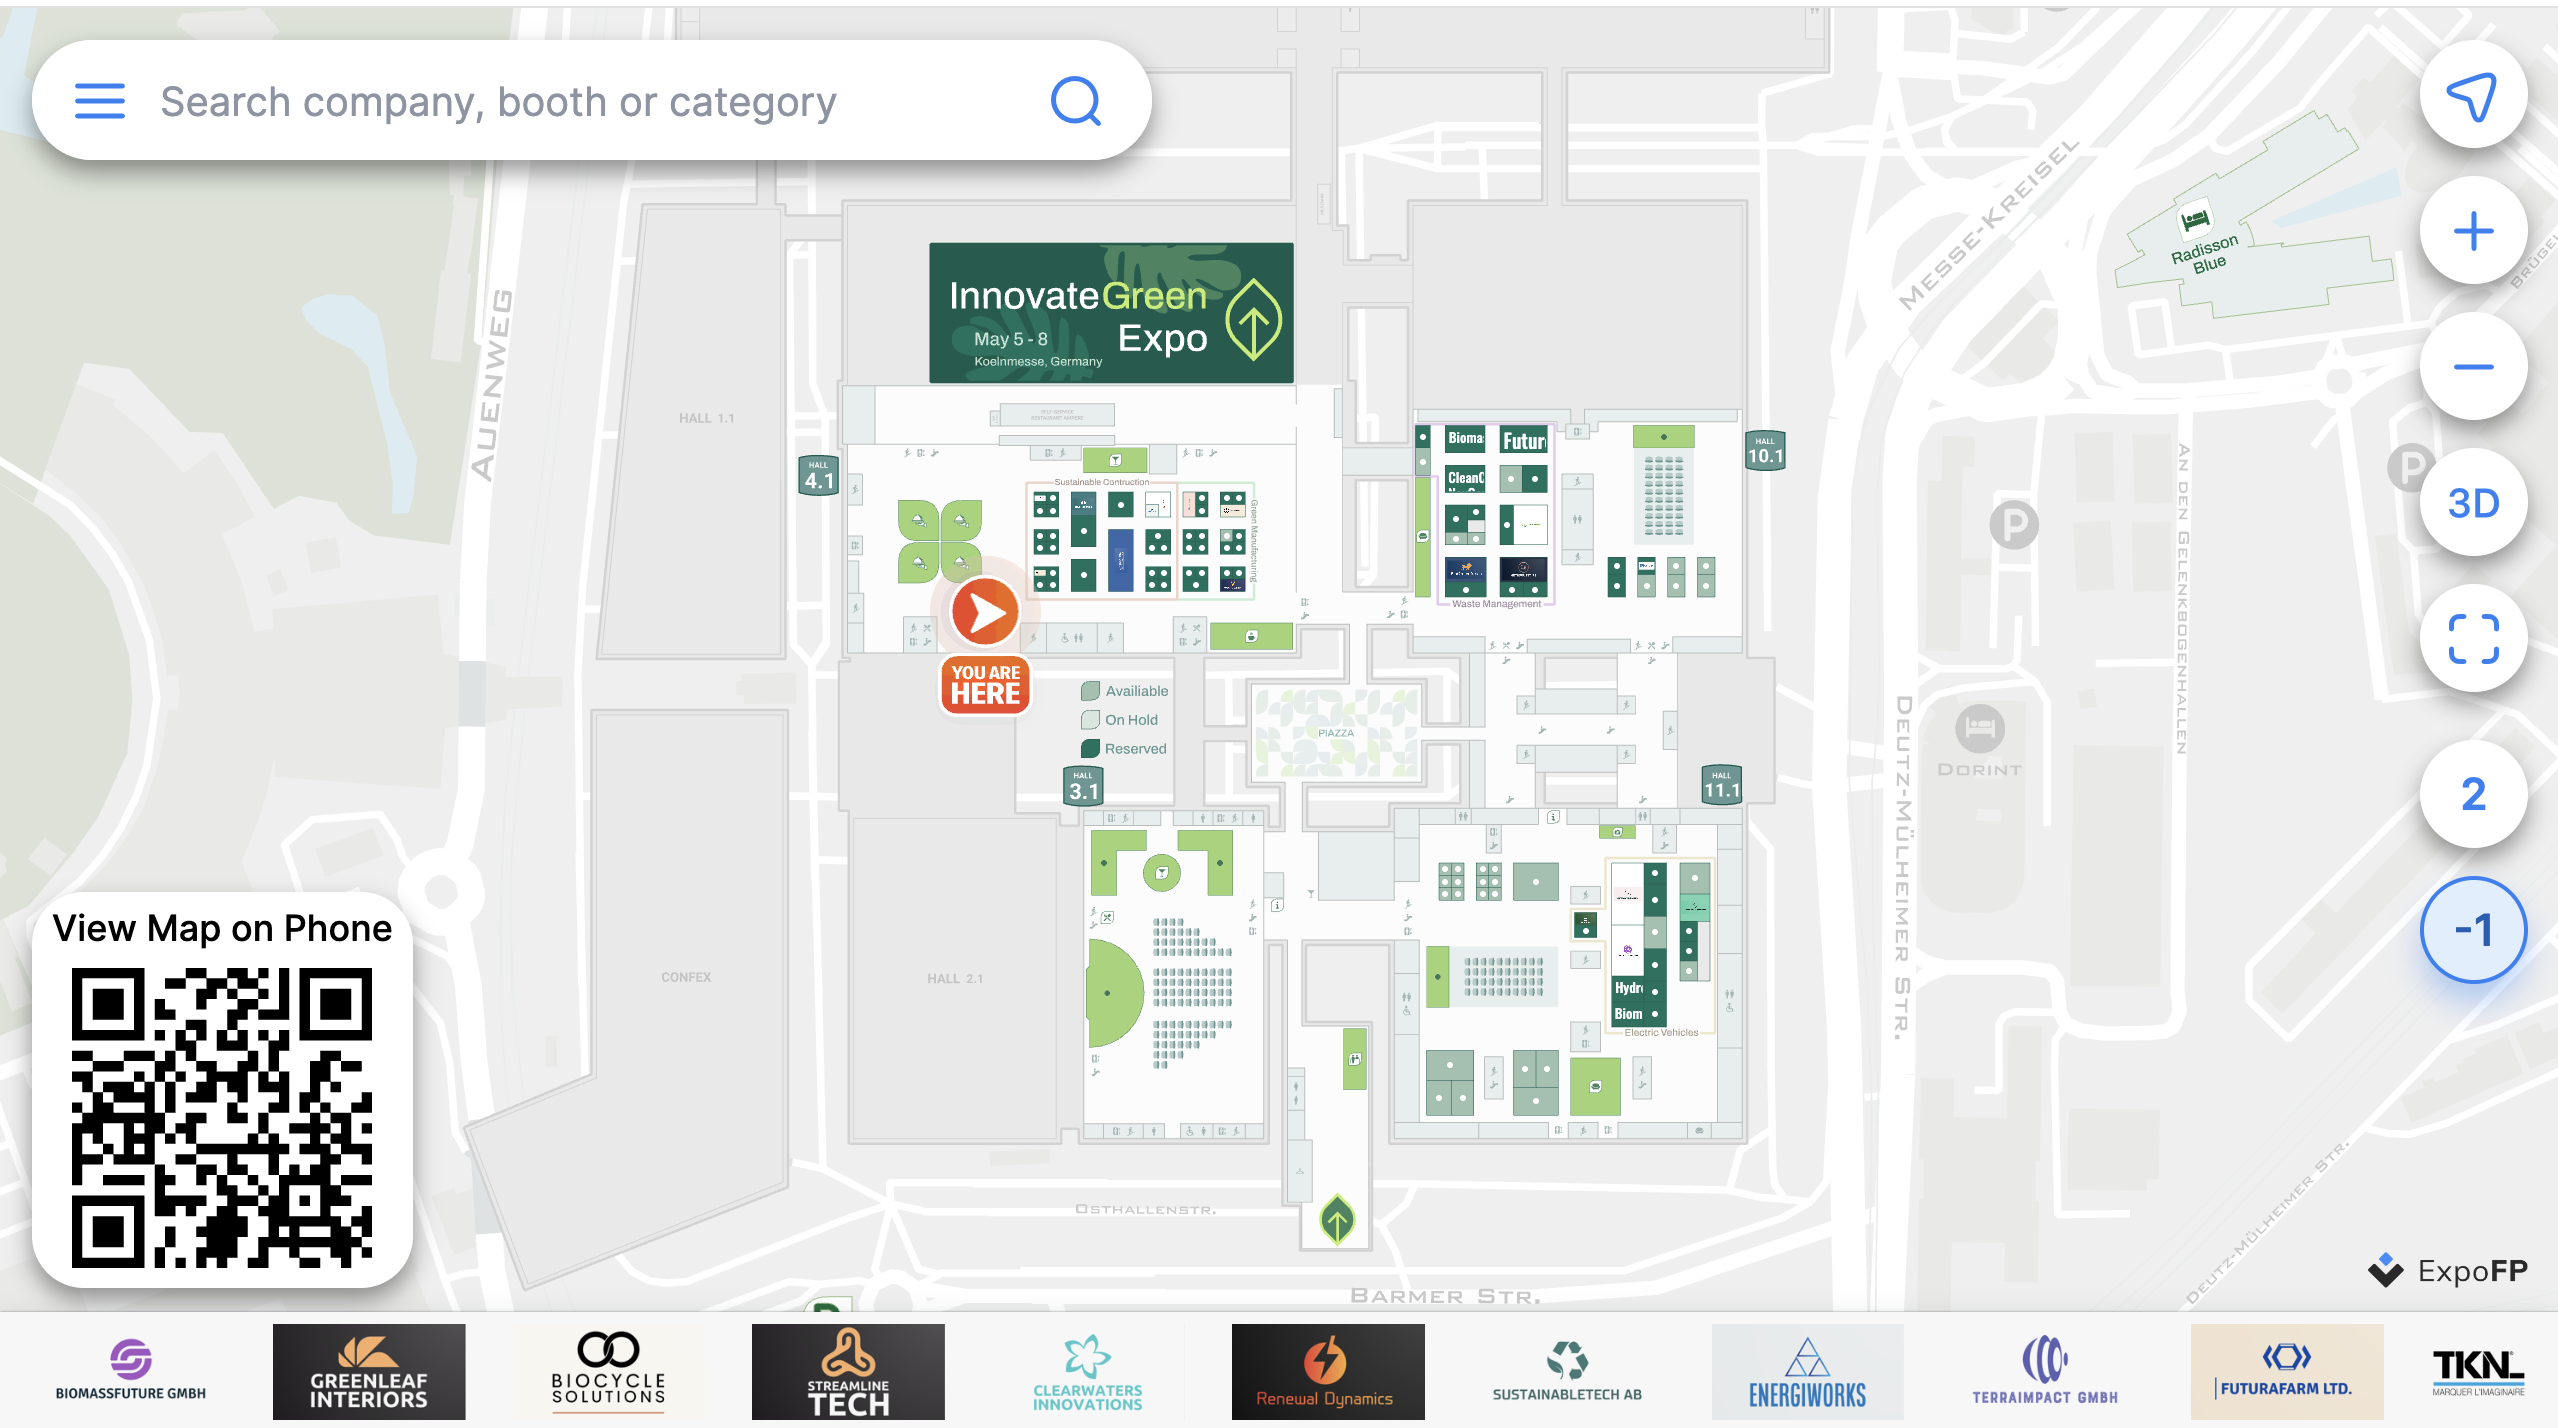
With parameter
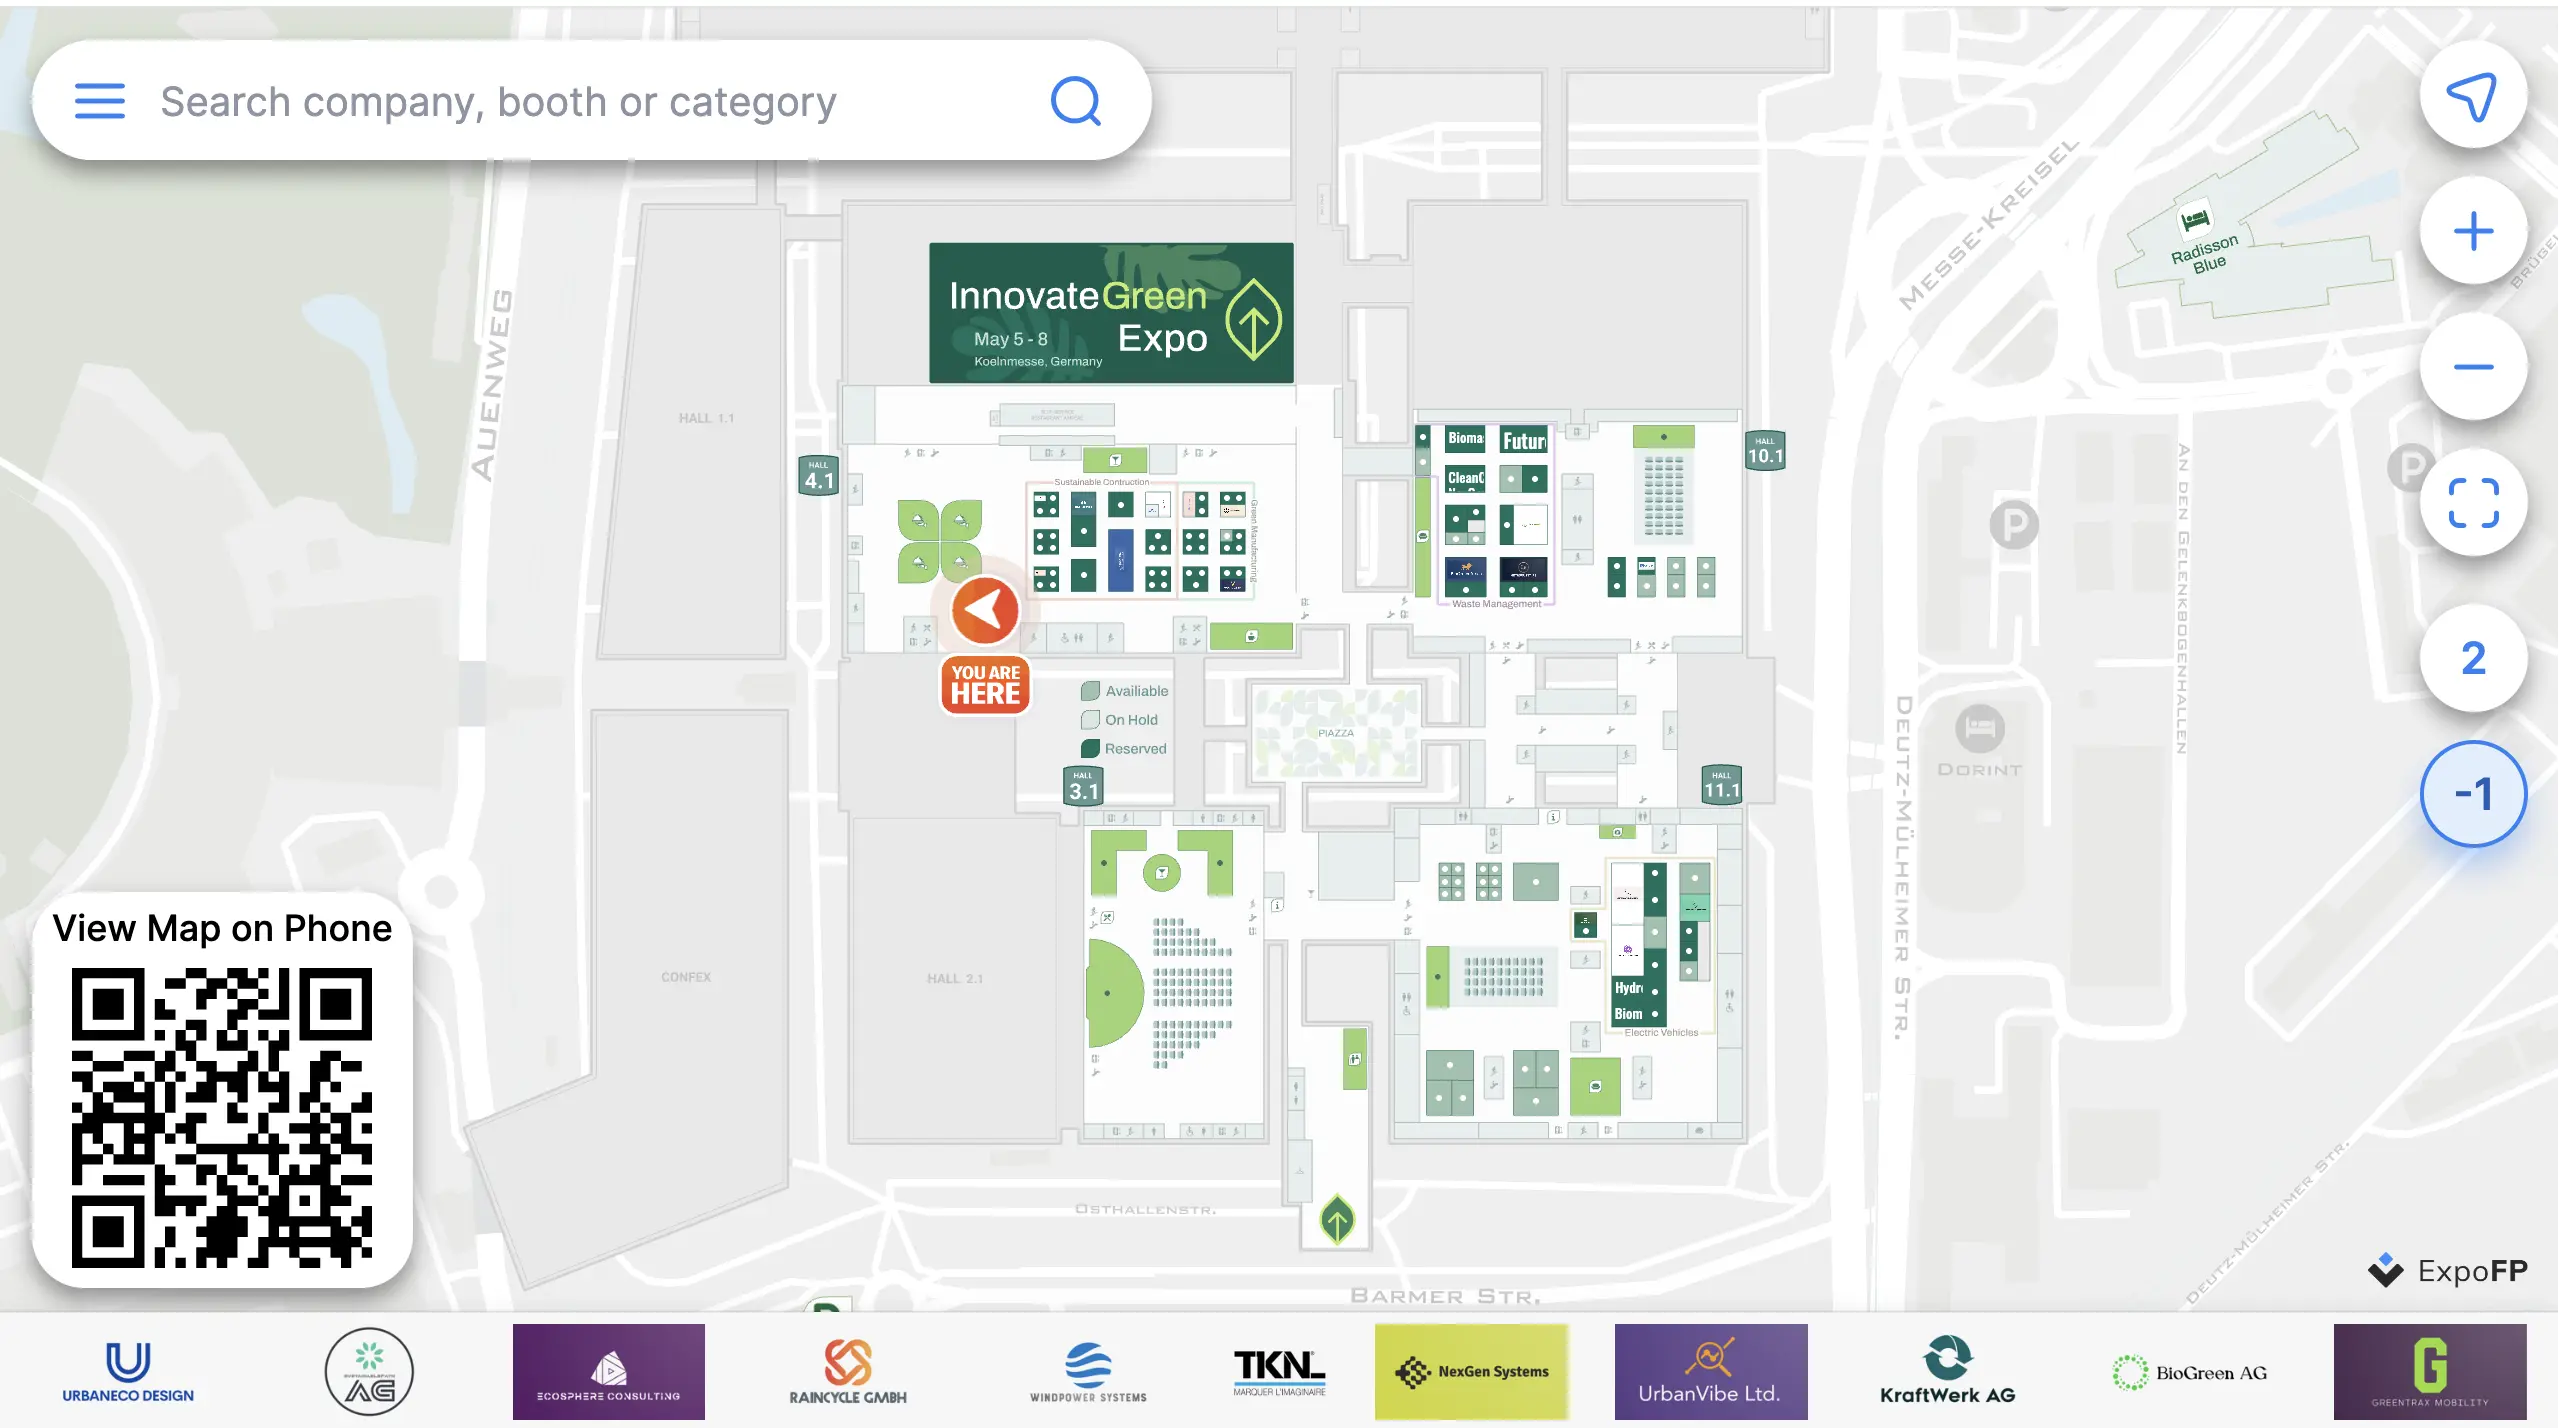
camera[zoomTime]
Sets the zoom animation duration in milliseconds (range: 500–5000).
Example: ?camera[zoomTime]=5000
?camera[zoomTime]=500
?camera[zoomTime]=5000
How to Reset Settings?
📝 Important: Settings apply only to the specific map they are sent to, and only on that device.
Settings apply only to the load that carries them — they are not remembered between loads. Opening the floor plan without parameters shows the default view.
Example:
If you open a card with ?camera[bearing]=45 and later open it again with ?camera[zoomTime]=3000, the bearing setting will not be applied — only zoomTime=3000 will take effect. In other words, if you need both settings, you must include them in the same request: ?camera[bearing]=45&camera[zoomTime]=3000.
Also, check out the full documentation.